Last updated November 17, 2026








Free written scope consultation - allowances, timeline, and change-order rules on paper before a single trade is scheduled
Bathroom Remodeling Troubleshooting: Common Problems and How to Fix Them
Grout cracking along the floor-to-wall joint within a year isn’t a grout problem. It’s a missing movement joint, and the Tile Council of North America has required one at every change of plane since 2009. If your contractor skipped it, that’s a code-deficient installation, not normal wear. Most bathroom remodel problems don’t appear during the job – they surface six months later, and by then the crew that caused them has moved on. This guide maps the five failures we see most often back to the exact installation step that caused each one, so you can document a defect, understand what California law actually covers, and dispute it properly. We’ll walk through it from a Mission Viejo perspective, where slab-on-grade construction and hard water both leave their fingerprints on failed tile and fixtures.
Quick Answer
The five most common post-remodel bathroom failures are grout cracking, moldy caulk, a running toilet, a slow drain, and peeling ceiling paint. Almost every one traces to a specific installation defect rather than normal aging: a missing movement joint, non-mold-resistant caulk applied over a wet substrate, a flapper that doesn’t seat, a trap arm pitched wrong, or exhaust vented into the attic instead of outdoors. Documenting the defect with photos and written notice – and knowing the difference between a defect and homeowner maintenance – is what makes a warranty claim stick in California.
Styles & brands we work with
- Kitchen remodeling
- Bathroom remodeling
- Home additions & ADU
- Roofing
- Windows & doors
- Driveway & pavers
- Fence
Table of Contents
- Mapping the Five Common Post-Remodel Failures to Their Cause
- Grout Cracking and Moldy Caulk: The Movement Joint Problem
- Running Toilets and Slow Drains: The Rough-In Failures
- Peeling Ceiling Paint: The Exhaust and Moisture Problem
- Defect vs. Maintenance: What California Law Actually Covers
- How to Document a Defect for a Warranty Claim
- Diagnostic Questions to Ask Before You Call the Contractor Back
- A Written Defect Notice That Meets CSLB Standards
Mapping the Five Common Post-Remodel Failures to Their Cause
Here’s the short version, and it’s the most useful table we can put in front of you. Every failure has a specific installation step behind it. When you know the step, you know who’s responsible.
- Grout cracking at corners and joints – missing movement joint at the change of plane. Grout was used where flexible sealant belongs.
- Moldy caulk at the tub or shower edge – standard caulk applied over a wet or dusty substrate, or no backer rod behind it, so water sat trapped.
- Running toilet – flapper, fill valve, or flush valve installed with grit in the seal or misaligned; often a rough-in detail ignored at fixture set.
- Slow drain – trap arm pitched the wrong direction, or construction debris left in the drain line during tile work and never flushed out.
- Peeling paint on the ceiling – exhaust fan vented into the attic or dead-ended, no insulated duct, or no primer on the drywall before paint.
What ties these together is that none of them show up at the walkthrough. They show up after the first winter of shower steam, after the third month of hard water cycling through the fill valve, after summer heat pushes on the framing. In Mission Viejo, our water runs hard, and that accelerates the toilet and fixture failures faster than most homeowners expect.
Grout Cracking and Moldy Caulk: The Movement Joint Problem
Cracked grout at the inside corner of a shower pan isn’t a sign your tile is failing. It’s a sign the installer used grout at a joint where the two planes move independently. The Tile Council of North America’s installation standards have required sealant at every change of plane since 2009, and the reason is simple: rigid grout can’t absorb movement, so the framing and substrate move and the grout cracks. The crack becomes a channel for water into the substrate behind the tile.
Why the caulk then grows mold
When the repair is done with a bead of standard caulk over a joint that’s still wet, the mold comes back within months. The fix isn’t a bigger bead. It’s a proper joint: clean the old material out, dry the substrate completely, pack a backer rod in, then apply a mold-resistant, flexible sealant rated for wet areas. Caulk that’s just smeared over the surface traps moisture against the tile and feeds the same problem.
What you can check yourself
- Look at the inside corners of the shower and the joint where tile meets tub or pan. If you see grout, you have a movement-joint problem.
- Push on the corner with a fingernail. If the grout is cracked or sounds hollow, moisture is likely behind it.
- Check the tub-to-wall seam for caulk that has pulled away cleanly – that’s usually a substrate that wasn’t dry when it was applied.
This is the single most common failure we get called back on after a bathroom job, and it’s fixable – but only properly. Call (833) 734-2429 if you want a free estimate on redoing the joints correctly.
Running Toilets and Slow Drains: The Rough-In Failures
A running toilet and a slow drain are two symptoms of the same stage of the job – the rough-in and fixture set. Both are installation failures far more often than they are parts failures, and both show up six to twelve months after the remodel closes.
The running toilet
Grit left in the supply lines during construction gets flushed into the fill valve and keeps the flapper from sealing, or the flush valve is misaligned at set. A proper fixture installation flushes the lines before the final connection and checks the flapper seat. If the toilet starts running within a year, the first thing to check is the flapper and fill valve – and the second is whether the installer flushed the line.
The slow drain
A slow drain after a remodel is usually one of two things: the trap arm pitched the wrong direction so water pools instead of running, or thinset and tile debris left in the drain during the job and never cleared. A homeowner who spends a Saturday trying drain cleaners won’t fix either one. The drain line has to be snaked from the trap and the pitch checked – and that’s a contractor’s job if the debris is construction material.
What we check on any Mission Viejo call
- That the supply lines were flushed at fixture set, not before.
- That the trap arm has the correct fall toward the drain – typically a quarter-inch per foot.
- That the toilet was set on a new wax ring and the flange is sound, not cracked.
Our technicians bring up to 22 years of experience on jobs like this, and the pattern holds: if the fixture failed inside the first year, it was installation.
Peeling Ceiling Paint: The Exhaust and Moisture Problem
Paint peeling off a bathroom ceiling in sheets isn’t a paint problem. It’s a moisture problem, and the source is almost always the exhaust fan. Either the fan is vented into the attic or a dead-end rather than outdoors, the duct isn’t insulated so it sweats and drips, or the drywall was never primed before the topcoat went on. The paint holds until it doesn’t, and then it comes off in a sheet.
The exhaust check
- Turn on the fan and hold a piece of tissue against the grille. If it barely clings, the fan isn’t moving enough air.
- Look for a vent termination on the exterior wall or roof. If there isn’t one, the duct is dumping into the attic.
- Check the attic for a duct that hangs loose or is uninsulated – condensation on the duct shows up as staining near the fan.
Fixing this is a ventilation job, not a paint job. Repainting over the same ceiling without fixing the exhaust will have you repainting again next year. The right fix is a properly sized fan ducting outdoors, insulated duct, and a primer coat before the ceiling is painted again.
Defect vs. Maintenance: What California Law Actually Covers
This is where most homeowners get confused, and it costs them. California gives you a real remedy for construction defects, but not every problem is a defect – and knowing the difference tells you whether to call the contractor or grab a caulk gun.
Covered as a construction defect
- Grout cracking at a change of plane where no movement joint was installed – that’s a code-deficient install.
- Moldy caulk in a wet area where the wrong product was used or applied over a wet substrate.
- A running toilet within the first year caused by grit in the fill valve or misaligned flush valve.
- A drain pitched wrong, or debris left in the line at installation.
- Peeling ceiling paint from an unvented or vented-to-attic exhaust fan.
Homeowner maintenance
- Recaulking the tub-to-wall seam every year or two – that’s a wear item.
- Cleaning natural stone with the wrong acidic cleaner and etching it – that’s on the homeowner.
- Replacing a flapper that has simply aged past its life.
- Regrouting a floor that has held for years and now needs refreshing.
The ten-year rule
California’s latent defect statute gives homeowners a window to pursue claims for defects that aren’t discoverable at the time of construction – generally up to ten years for latent defects, with shorter windows for patent defects you can see. The practical takeaway: if the failure is a code-deficient installation (like that missing movement joint), you have a real argument, and it’s stronger if you’ve documented the defect in writing when it appeared. That’s the difference between a warranty claim and a complaint that goes nowhere.
How to Document a Defect for a Warranty Claim
The documentation is what wins the claim. A verbal call about a running toilet is a conversation. A dated written notice with photos and a clear description of the defect and the requested remedy is a warranty claim. Here’s how to build one.
- Photograph the defect against a scale. Tape a coin or ruler next to the crack or mold so the size is obvious. Take one wide shot for context and one close-up.
- Record the date the defect appeared and the date you first noticed it. Write a one-sentence description of what you saw.
- Send written notice by email and by certified mail. Keep the receipt. A text message is not notice.
- State the remedy you want – repair, replacement, or an inspection – and give a reasonable time to cure.
- Keep a log of every call, email, and visit. Note who you spoke with and what they said.
“Reasonable time to cure” in California is generally read as a fair period for the contractor to inspect and correct the work – days, not months. If the contractor doesn’t respond inside that window, the log and the written notice become your record. If you’re in Mission Viejo and the contractor is unresponsive, you can file a complaint with the Contractors State License Board, and the documentation above is what they’ll ask for.
Diagnostic Questions to Ask Before You Call the Contractor Back
Before you assume the contractor caused it, rule out what you caused. This saves time and keeps the warranty claim clean.
- Did anyone use an acidic or abrasive cleaner on natural stone? That etches the surface and isn’t a defect.
- Has anyone recaulked over the existing caulk? Over-caulking an expansion joint traps moisture and causes the mold you’re seeing.
- Was the toilet running before the flapper was last checked? An aged flapper isn’t the installer’s failure.
- Is the drain slow, or is it backing up? A backup can be a main-line issue, not the bathroom rough-in.
- Did you change the exhaust fan or its settings after the job? A fan that was right can become undersized if the duct was disconnected.
If none of those explain the failure, and the defect appeared within a year of the work, it’s a warranty issue. The Garrison Standard – the framework Bradford operates under – means every completed project here carries a written guarantee: the 365-Day Done Right Promise. If the work fails inside that window, we come back and correct it at no charge. That’s the standard we hold ourselves to, and it’s written into the price before the first tool comes out.
A Written Defect Notice That Meets CSLB Standards
Here’s a template you can adapt. Send this by email and certified mail, keep a copy, and keep the receipts. It covers what the Contractors State License Board looks for when a homeowner files a complaint.
- Your name, address, and phone number.
- Contractor’s name, license number, and business address as shown on your contract.
- Project address and the date the work was completed.
- A description of the defect: what it is, where it is, and when it appeared. Reference the specific installation step if you know it (e.g., “grout was used at the change of plane instead of a movement joint”).
- Photos and dates: attach dated photos, one wide and one close-up for each defect.
- The remedy requested: “Please inspect and repair the above at no charge within 10 business days.”
- A statement that the defect is covered by the contractor’s written guarantee and by California’s latent defect statute, and that you’re requesting a response in writing.
- Your signature and date.
That structure – description, evidence, requested cure, deadline – is what makes the notice hold up. Send it, log the response, and if the contractor doesn’t answer inside the window, you have the paper trail the CSLB complaint process needs.
Common Mistakes to Avoid
- Repainting over peeling ceiling paint without fixing the exhaust. In Mission Viejo’s warm, humid summers, a bathroom with an unvented fan will peel again within a year. The fan is the problem; the paint is the symptom.
- Caulking over moldy caulk instead of removing it. Fresh caulk over the old bead traps the moisture in. The mold returns, and the claim gets muddier because you modified the joint.
- Using acidic stone cleaner on natural stone. That’s home-caused etching, and it takes the defect out of warranty territory fast. Use a pH-neutral cleaner on any stone surface.
- Sending a text instead of written notice. A text is a conversation. A dated email and certified letter that states the defect and requests a cure is a warranty claim.
- Waiting past the window to report. A running toilet reported in month eight is a warranty claim; reported in year three, it’s an aged part. Report the failure when you see it.
- Hiring whoever shows up first. Ask before the job whether the price will be in writing and whether the guarantee is in writing. No written price means no way to prove what you were promised.
- Letting the crew leave the site a mess. On a properly closed job, the site is clean, the scope is documented, and the written guarantee is in your hand. If that isn’t what you’re being left with, don’t sign the walkthrough.
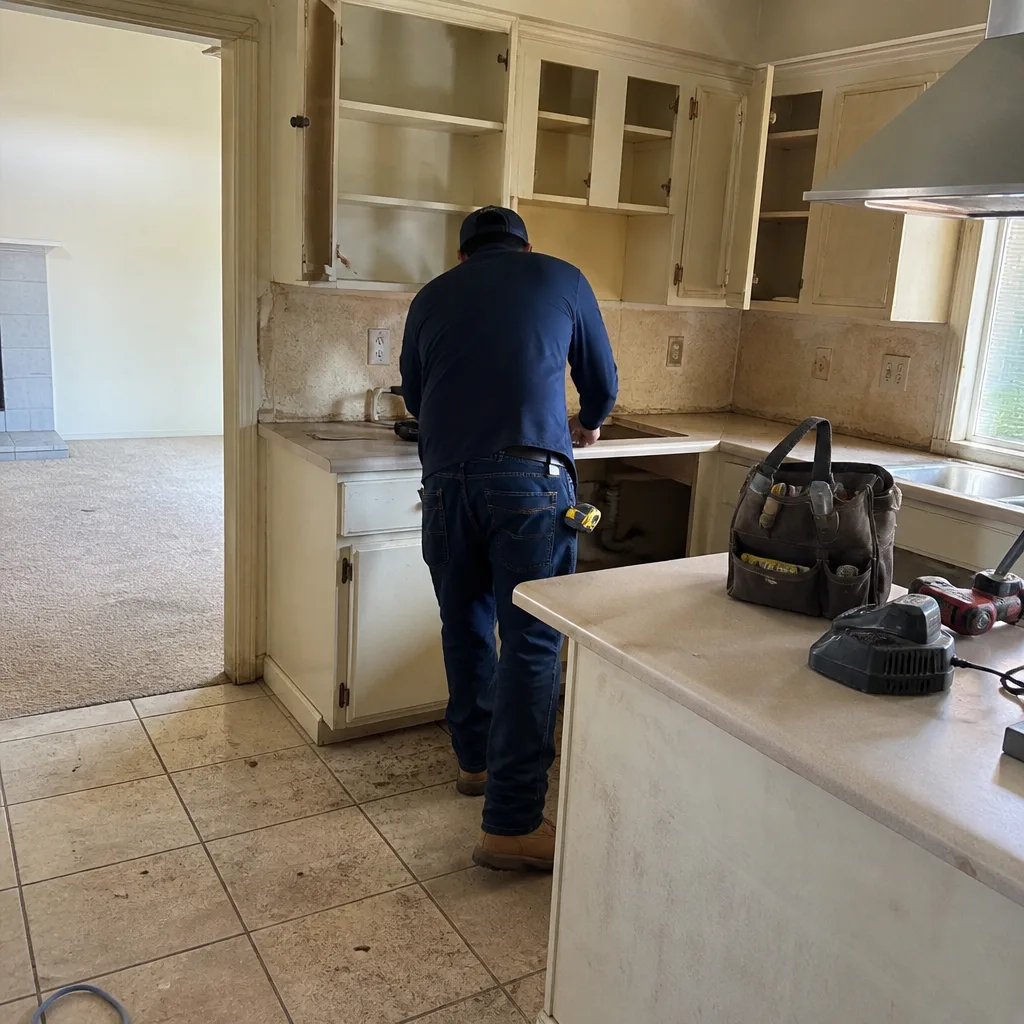
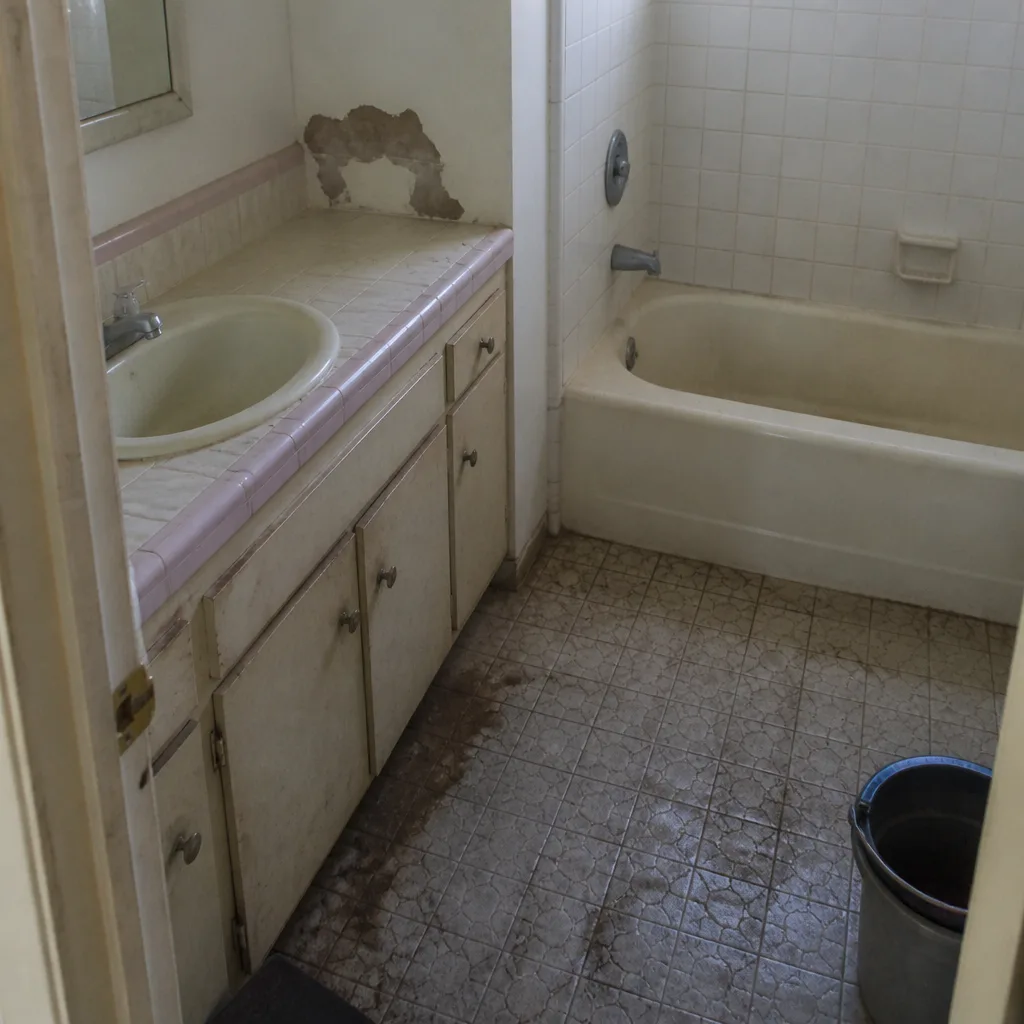
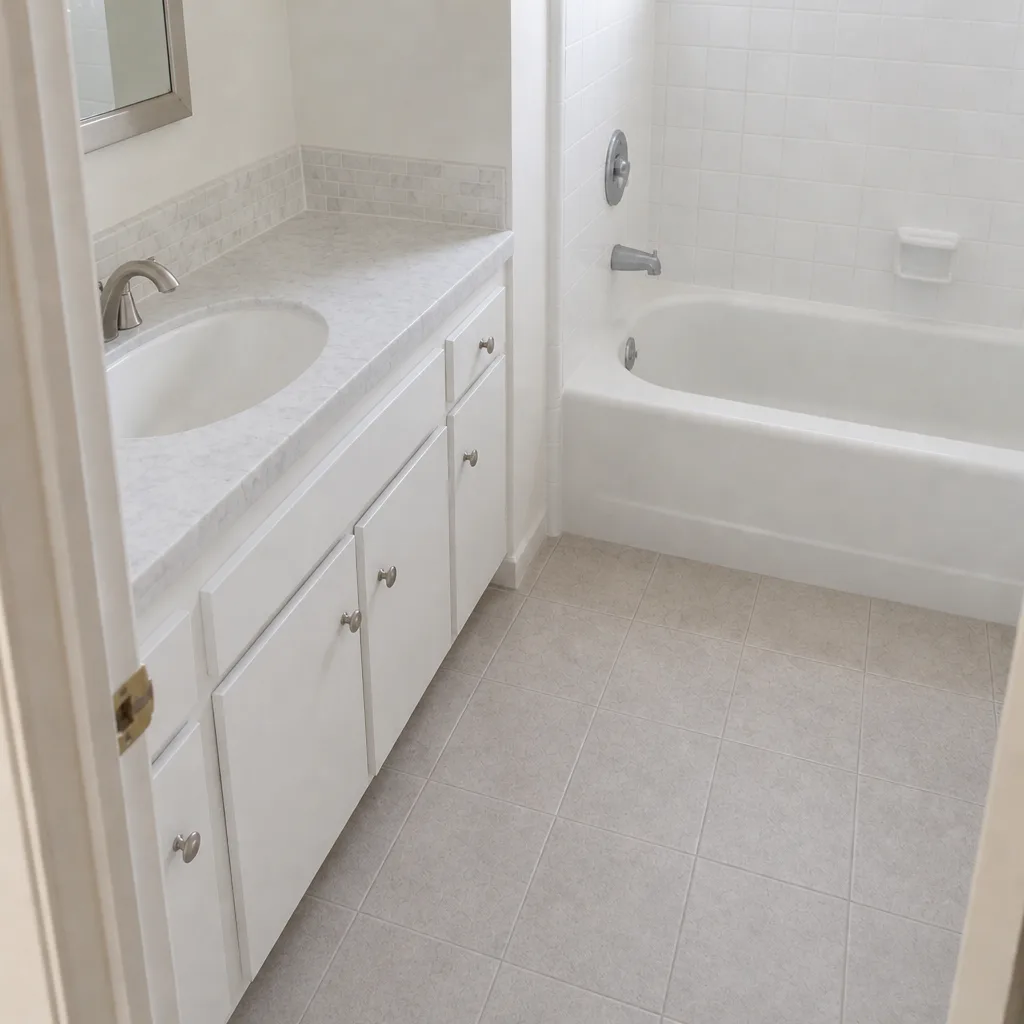
See the difference
 Before
 After
 Before
 After
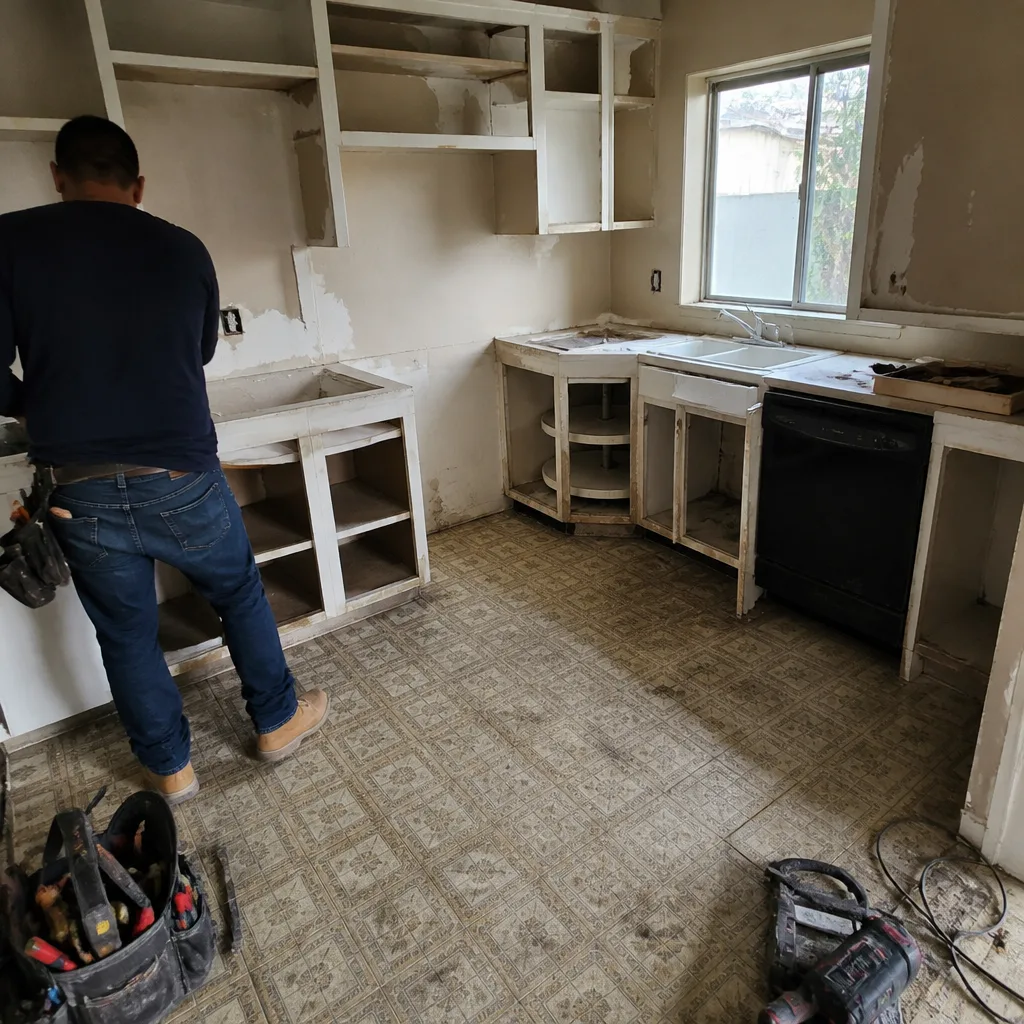 Before
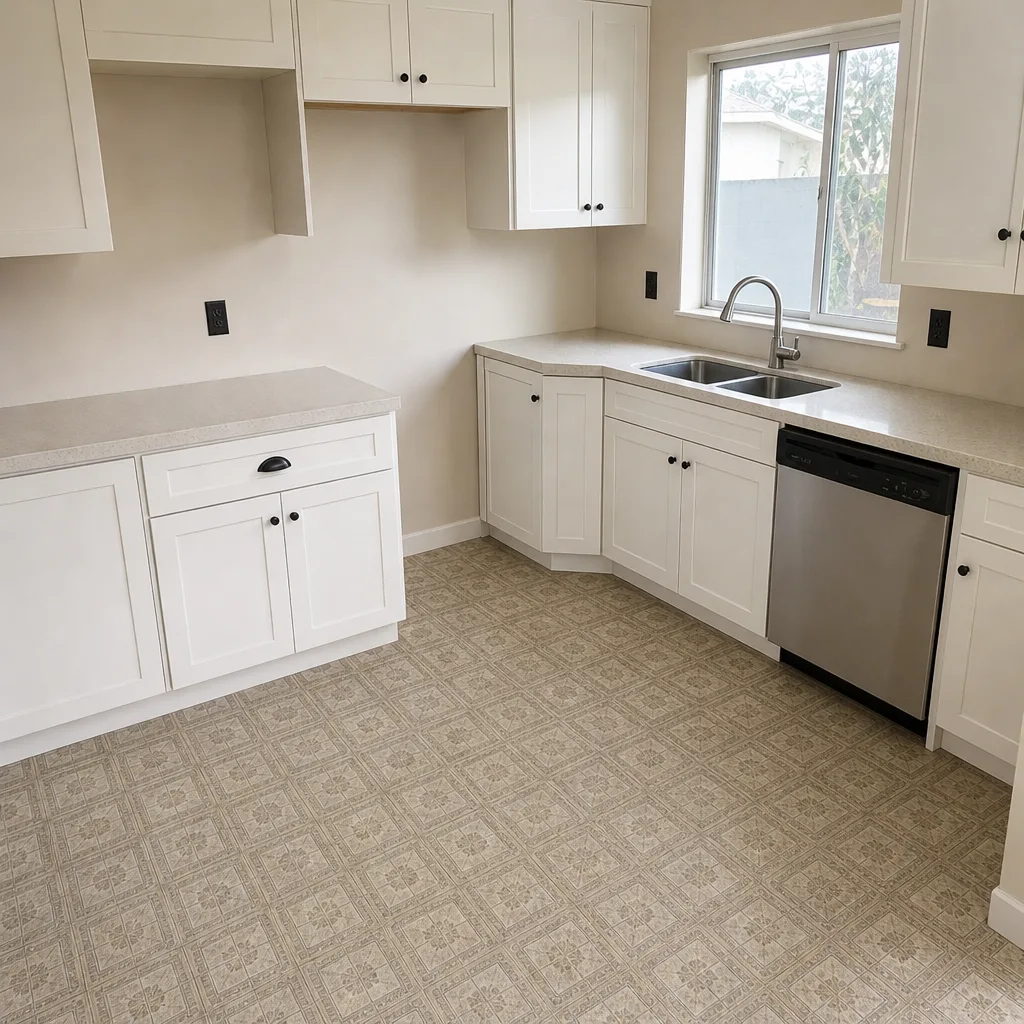 After
When to Call a Professional
Call a professional when the failure involves a code-deficient installation (grout where a movement joint belongs), when moisture is behind tile, when a drain is pitched wrong or has construction debris in it, or when an exhaust fan is venting somewhere it shouldn’t. Also call if you’re within the first year of the remodel and any of the five failures above has appeared – that’s a warranty question. If you’re in Mission Viejo and the original contractor is unresponsive, a second opinion on the defect is worth the trip. Bradford Remodeling Co Mission Viejo offers free estimates in Mission Viejo; our technicians bring up to 22 years on jobs like this, and we give you a written price before any work begins. Call (833) 734-2429 to schedule your free estimate.
Frequently Asked Questions
Most installation defects surface between three and twelve months after the work closes, once the bathroom has been through a full season of shower steam and water cycling. That’s why our work carries a full-year written guarantee: the 365-Day Done Right Promise means if the work fails inside that window, we return and correct it at no charge.
Cracked grout at a change of plane is a code-deficient installation. The Tile Council of North America has required sealant at every change of plane since 2009, and grout can’t absorb the movement there. That’s a warranty item, not normal wear. Call (833) 734-2429 for a free estimate on redoing the joints correctly.
If the toilet runs within the first year, it’s usually grit in the fill valve or a misaligned flush valve from the fixture set – a contractor issue. Check the flapper first and then call for an inspection. The 365-Day Done Right Promise covers this kind of failure at no charge.
Latent defects that aren’t discoverable at construction generally fall under a window of up to ten years, with shorter windows for patent defects you can see. A missing movement joint or an exhaust fan vented into the attic can qualify. Document the defect when it appears; the notice is what makes the claim real.
A defect is an installation failure: grout where a movement joint belongs, caulk over a wet substrate, a drain pitched wrong. Maintenance is wear: recaulking the tub seam every year or two, replacing an aged flapper, cleaning stone with a pH-neutral product. If you’re unsure which you have in Mission Viejo, a free estimate will tell you straight.
Not if the work failed inside the written guarantee window. The 365-Day Done Right Promise means a free return visit and correction at no charge if the remodel fails within the guarantee period. Call (833) 734-2429 to schedule a look – estimates are free.
The Bottom Line
Grout cracking, moldy caulk, a running toilet, a slow drain, and peeling ceiling paint aren’t normal aging. They’re the fingerprints of specific installation steps – a missing movement joint, caulk over a wet substrate, a fixture set without flushing the line, a drain pitched wrong, an exhaust fan venting into the attic. California’s latent defect statute gives you a window to pursue the real ones, and the Contractors State License Board needs written notice and dated photos to move a complaint forward. Document the defect when it appears, know what’s a defect versus maintenance, and ask the diagnostic questions before you call the contractor back. If you’re in Mission Viejo and the original crew is unreachable, call (833) 734-2429 to schedule a free estimate and get a straight answer on what failed and what it takes to fix it.
Written by the team at Bradford Remodeling Co Mission Viejo.